How To Retrieve Deleted Messages From pname com facebook orca
For upon | In today’s world, we all are connected to each other through social networking sites and these applications bring a revolutionary change in our lifestyle. And Facebook is one of the renowned and most utilized social networking sites that connect the people world-wide. Facebook has developed many applications for Android, iOS and windows and one of these applications is Facebook messenger that directly connect the person for chatting with their friends. So, sometimes if there is a need arise to delete some messages or mistakenly deleted and later we realize that they are important for us. Now, looking for a way to retrieve deleted messages is the only concern!!
Now the question arises, are deleted messages can be recovered? And the answer is yes, through pname com facebook orca. It is basically a folder that contains audio, video, messages, files, plugins and cache from the Facebook messenger application on the device. Pname suggest the package name for the application. This folder is automatically created when a messenger app is installed on the device.
Problem incur while using this folder:-
Many of the Facebook messenger users have come across through the pop-up notification which indicates that “unfortunately Facebook has stopped” or “Sorry! Application messenger has stopped unexpectedly”. And this pop-up irritates the user by appearing again and again and users think that it is some kind of malware or virus but this is not the truth. Pname com facebook orca is not a virus and this type of error occurs due to the overflow of data or some unmanageable content that takes longer time than usual. Deleting the Orca folder is not a permanent solution of the problem as it will be created again and a pop-up will again visible. Follow the following steps to solve the problem:
- Go to the Setting option of your device.
- Select the Storage option
- Then, click on All Applications and select Facebook Messenger application
- Clear cache of the app and if the data is not useful then clear all the data.
These steps solve the problem effectively.
Retrieval process:-
There are two ways to delete the conversation:
- Temporary/Archived messages
- Permanent/Deleted messages
Retrieval of archived messages is much easier than that of deleted messages and can be done in 3 easy and effective steps:
- Login your Facebook account and go to the ‘message’ option on the top left side in the taskbar.
- After selecting message option, a list will be displayed containing all the individuals’ name with whom the user conversed in the past but the archived contact will not be displayed. So click on the search box on the top and search the contact name.
- Now, go to the action menu and select Un-archive option and messages will be restored.
There are numerous ways to recover deleted messages but Orca folder is installed on the device itself and easily located in the ‘file manager’ of the android phone, this makes the task efficient and applicable. Exploring the file /folder location is the basic need. If the device has built-in File Explorer or File Manager then it can be found through this otherwise follow:
- Open the Play Store and search File explorer.
- Download the application
- Install the app in the required location.
Now, unlatch the File Explorer that was already installed and go to the Storage/SD card. Then select the Android folder where all the data relevant for the apps are stored.
- Select the “Data” folder.
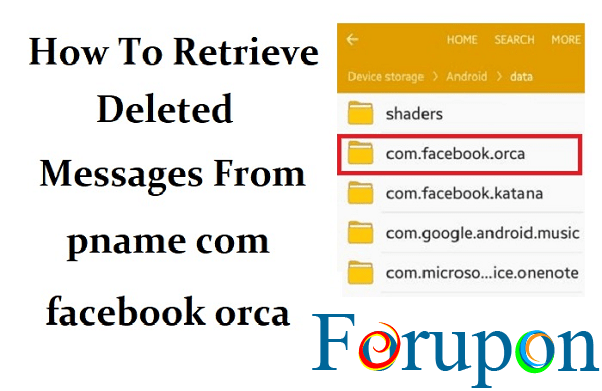
- Data folder further contains sub-folders associated with all the applications. Choose the sub-folder that is related to Facebook –“com.facebook.orca”.
- Go to the cache sub-folder in orca folder.
- Then select “fb_temp” folder to reach the conversations. This folder contains all the conversations, audios, videos and images of each and every individual and also contains information that was conversed in the group on Facebook Messenger.
By following these steps, retrieval of deleted messages or any other conversed information is easily possible. These steps can also be followed by a computer or laptop by attaching the device with USB cable. This process is the “data saver” process for android applications.


Comments are closed.